So you want tacos… but you also want that crispy shell crunch… and you want protein… and you don’t want a sink full of dishes? Cool. Same. Welcome to the magical little loophole where cottage cheese (yes, cottage cheese) turns into crispy taco shells that make your brain go, “Wait… what?”
These are the kind of shells that feel like a cheat code. You bake a simple cottage-cheese mix, it crisps up like a dream, and suddenly you’re holding a taco like you’re the main character in a food montage. Let’s do this.
Why This Recipe is Awesome
First of all: CRUNCH. Not that “kinda firm but still sad” crunch. Real crispy edges, taco-night energy, and your fillings actually feel special.
Second: high-protein without the “I’m eating gym food” vibe. These shells don’t taste like a compromise. They taste like you planned your life.
Third: it’s ridiculously simple. Like, idiot-proof. Even I didn’t mess it up, and I’ve burned cereal before. (Don’t ask.)
And FYI, this is also amazing if you’re going low-carb-ish or just trying to add more protein without drinking another suspiciously thick shake.
Ingredients You’ll Need
- Cottage cheese (1 cup) – full-fat crisps best, but use what you have.
- Eggs (2 large) – the glue that holds your taco dreams together.
- Shredded cheese (1 cup) – cheddar, Mexican blend, mozzarella… pick your fighter.
- Taco seasoning (1–2 tsp) – store-bought is fine; we’re not auditioning for a cooking show.
- Garlic powder (1/2 tsp) – optional, but it adds that “wow who made this?” flavor.
- Salt (a pinch) – only if your taco seasoning isn’t salty already.
- Cooking spray or a little oil – so your shells don’t glue themselves to the pan like a clingy ex.
Step-by-Step Instructions
- Preheat your oven to 400°F (205°C). Yes, preheat. This isn’t optional. A hot oven helps these crisp instead of turning into a sad cheesy puddle.
- Blend the cottage cheese until smooth. Use a blender, food processor, or an immersion blender. You want it creamy so the shells bake evenly and look less like “curds gone wild.”
- Mix everything in a bowl. Add blended cottage cheese, eggs, shredded cheese, taco seasoning, and garlic powder. Stir until it looks like a thick, cheesy batter.
- Prep your baking sheet. Line it with parchment paper and spray lightly with oil. Do not skip parchment unless you enjoy scraping cheese off metal with a sad face.
- Scoop and spread into circles. Drop 1/4 cup batter per shell onto the sheet, then spread into 5–6 inch circles. Keep them thin-ish for crispiness, thicker for sturdiness.
- Bake 15–20 minutes. Watch for golden edges and a firm center. If your oven runs lazy, give it a couple extra minutes.
- Shape them into taco shells. Let them cool 2 minutes (they’re fragile when molten). Then drape each circle over a wooden spoon handle or place between two upside-down cups so it forms that taco curve.
- Bake again for extra crunch (optional but elite). Put the shaped shells back in the oven for 3–5 minutes. This is the crispiness level-up.
- Cool, fill, and flex. Let them cool a few minutes to firm up, then load with taco meat, chicken, beans, lettuce, salsa—whatever makes you happy.
Common Mistakes to Avoid
- Skipping the preheat. Rookie mistake. A cold oven turns these into a melty mess instead of crispy shells.
- Not blending the cottage cheese. Unless you want bumpy shells with random weak spots… blend it.
- Making them too thick. Thick = soft and bendy. Thin = crispy. Decide what vibe you want and commit.
- Forgetting parchment paper. You’ll end up with “taco shell jerky” stuck to the pan. It’s not cute.
- Trying to shape them immediately. Give them 2 minutes. Hot cheese is dramatic and tears easily.
- Overloading with wet fillings. Salsa soup will soften the shell fast. Drain your toppings if you want crunch that lasts.
Alternatives & Substitutions
No taco seasoning? Mix chili powder + cumin + paprika + onion powder + a pinch of salt. Close enough, IMO.
Want it spicier? Add cayenne, hot sauce, or chopped jalapeños. Just don’t pretend you “didn’t mean to make it hot” when you absolutely did.
Dairy-free? Okay… this recipe is literally cottage cheese. But you can experiment with dairy-free shredded cheese and plant-based “cottage” alternatives if you find one that blends smooth. Results vary. Science is messy.
Need sturdier shells? Add 1–2 tablespoons almond flour or oat flour. It makes them a little more “taco-truck stable.”
Air fryer option? You can try it on parchment in the air fryer at 375°F (190°C) for 8–12 minutes, but watch closely. Air fryers love turning “golden” into “crispy charcoal” in 30 seconds.
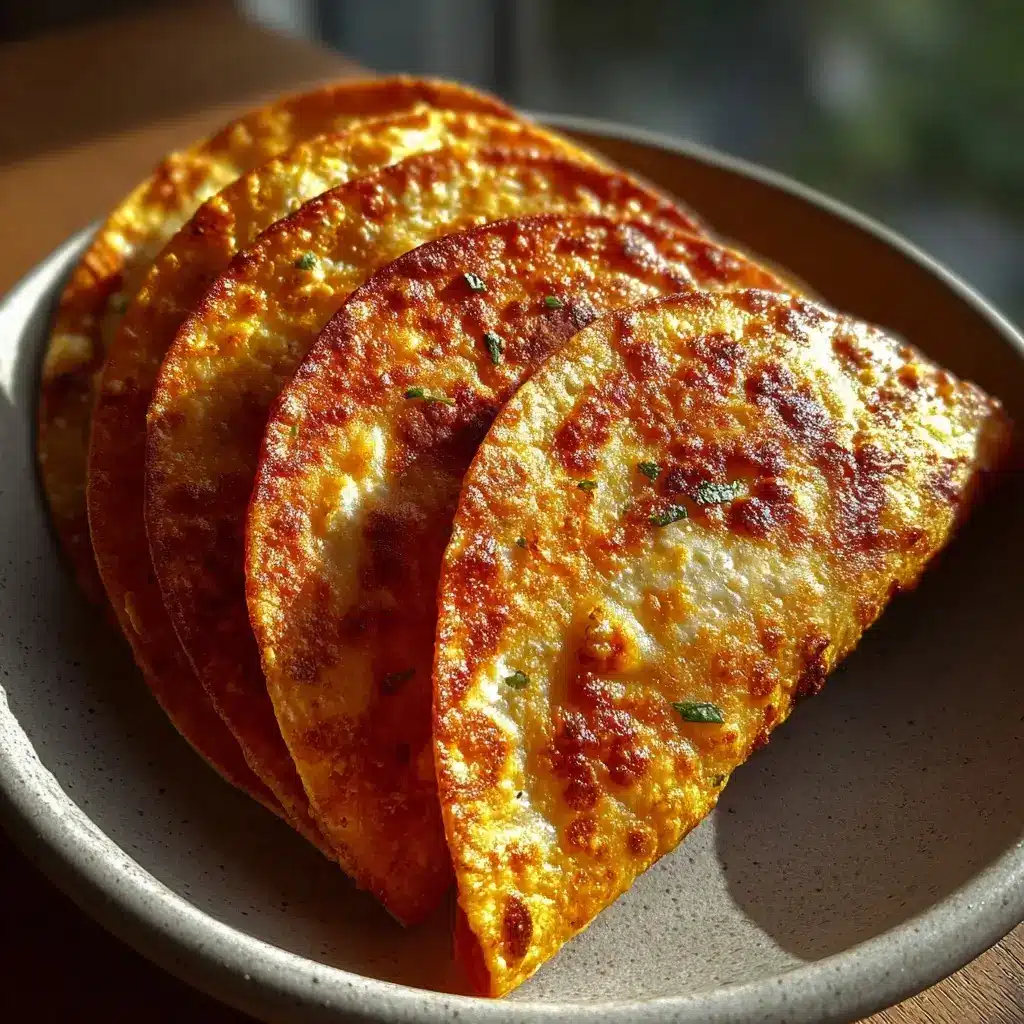
PrintCrispy Cottage Cheese Taco Shells

These Crispy Cottage Cheese Taco Shells are a viral high-protein twist on classic tacos. Made with blended cottage cheese, eggs, and shredded cheese, they bake into golden crispy shells perfect for low-carb taco nights. Easy, crunchy, and meal-prep friendly.
- Prep Time: 10 minutes
- Cook Time: 20 minutes
- Total Time: 30 minutes
- Yield: 6 taco shells
- Category: Dinner
- Method: Baked
- Cuisine: American
Ingredients
1 cup cottage cheese (blended smooth)
2 large eggs
1 cup shredded cheese (cheddar or Mexican blend)
1–2 tsp taco seasoning
1/2 tsp garlic powder
Pinch of salt (optional)
Cooking spray or oil
Instructions
1. Preheat oven to 400°F (205°C) and line baking sheet with parchment.
2. Blend cottage cheese until smooth and creamy.
3. In a bowl mix cottage cheese, eggs, shredded cheese, seasoning, garlic powder.
4. Scoop 1/4 cup portions onto sheet and spread into thin circles.
5. Bake 15–20 minutes until golden and set.
6. Cool 2 minutes then gently shape into taco shells.
7. Return to oven 3–5 minutes for extra crisp if desired.
8. Cool slightly, fill with taco fillings and serve.
Notes
Blend cottage cheese well for smooth shells.
Thin circles = crispier shells.
Use parchment paper to prevent sticking.
Re-bake shaped shells for extra crunch.
Best eaten fresh but can be reheated to crisp.
FAQ (Frequently Asked Questions)
1) Do these actually get crispy?
Yes. If you bake them long enough and keep them thin-ish, the edges get legit crunchy. If yours are soft, you probably pulled them too early—like a movie you judged in the first 5 minutes.
2) Can I make them ahead of time?
You can, but they’re best fresh. Make them ahead, let them cool, then store in the fridge and re-crisp in the oven at 375°F (190°C) for 5–7 minutes.
3) Why did my shells stick to the pan?
Parchment paper. Use parchment paper. Also spray it lightly. Your shell should not become one with the baking sheet. That’s a toxic relationship.
4) Can I use low-fat cottage cheese?
Yep. Full-fat usually crisps better and tastes richer, but low-fat still works. Just expect slightly less “wow” and slightly more “still good though.”
5) How do I keep them from getting soggy?
Drain wet toppings, don’t overstuff, and eat them soon after filling. If you want crunch that lasts, keep salsa and juicy stuff on the side and dip like a genius.
6) Can I freeze these?
You can, but texture might change a bit. Freeze flat with parchment between shells, then reheat in the oven to re-crisp. Microwave = sadness.
7) What should I fill them with?
Anything taco-y: seasoned ground beef or turkey, shredded chicken, black beans, lettuce, avocado, cheese, sour cream, pico… You know the drill. Just don’t fill it with soup.
Final Thoughts
If you told me years ago I’d be making taco shells out of cottage cheese, I would’ve laughed and walked away dramatically. And yet… here we are. Crispy, cheesy, protein-packed taco shells that feel illegal in the best way.
Now go fill these with something amazing and impress someone—or yourself—with your new culinary skills. You’ve earned it. 😄